You guys, I have this thing for place cards. I don’t know why, but I just love to make them and use them for Thankgsiving. I remember when I was a kid, my mom was in charge of the place cards a few different times, and I remember her using sugar cones to make cornucopias, and filled them with Runts. I thought it was the best thing ever. I also remember her copying, cutting out, coloring, folding and gluing Thanksgiving nut cups together. So maybe I come by it naturally, but I just really love them, and love coming up with different ideas for what I could use for them. I’ve shared quite a few place cards in the past, but today I’m so excited to be sharing these Mini Pie Box Thanksgiving Place Cards with you. They’d be perfect for filling up with nuts, your favorite treat, or whatever.

This post contains affiliate links.
To make these Mini Pie Box Thanksgiving Place Cards you’ll need:
- Kraft Cardstock
- Burnt Orange Cardstock
- Adhesive
- Brown Ink Pad
- Tissue Paper
- 1 3/4″ Circle Punch
- Baker’s Twine
- Adhesive Foil
- Cricut Maker or Cricut Explore Air 2
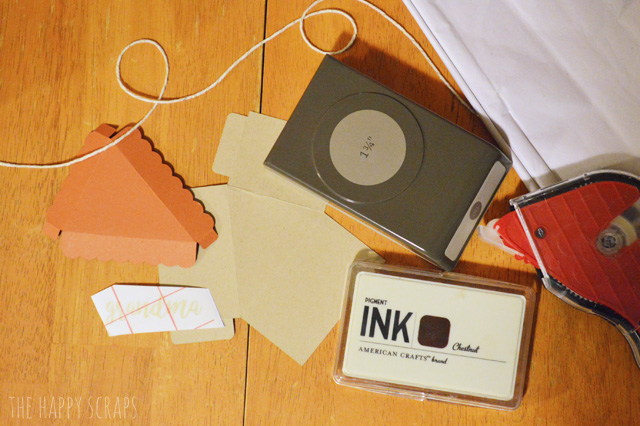
Using your Cricut Explore Air 2, cut out your box and lid and fold them on the score lines. You can find my Cricut Design Space Cut File here. Use your adhesive to put them together.
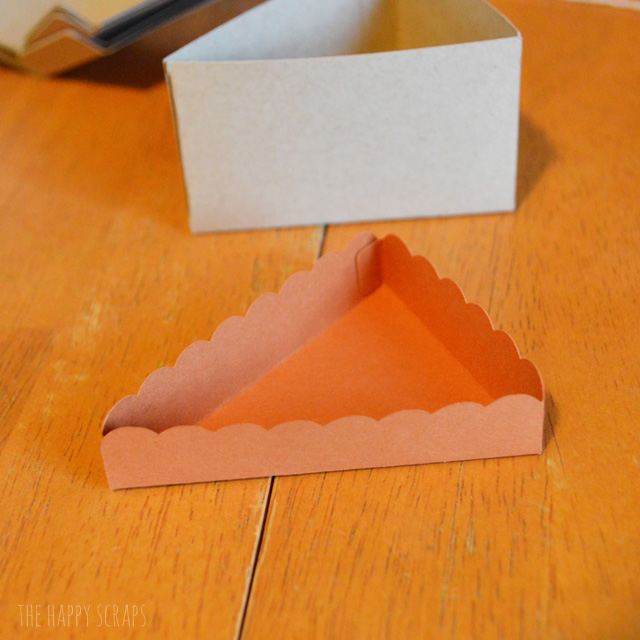
Using the brown ink pad, ink the edges of the box and the lid and then place the lid on the box.
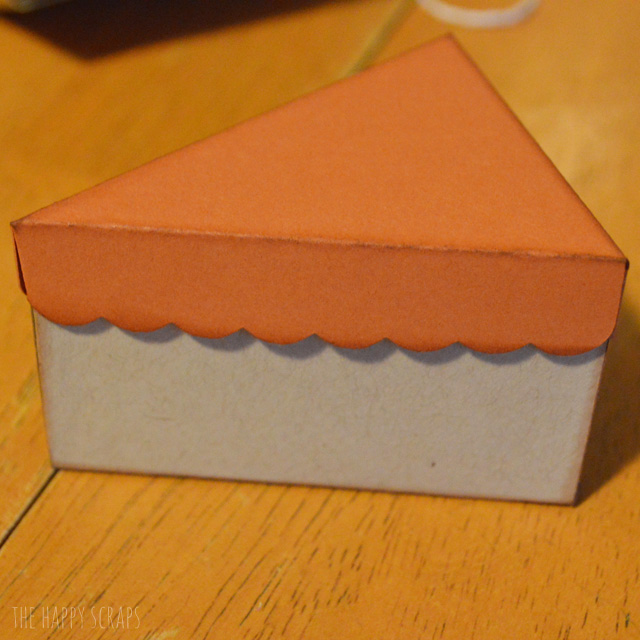
Using Cricut Design Space, design the names that you need cut. Cut them on the Cricut Explore Air 2, weed them, and apply transfer tape. Peel the backing off of your foil lettering.
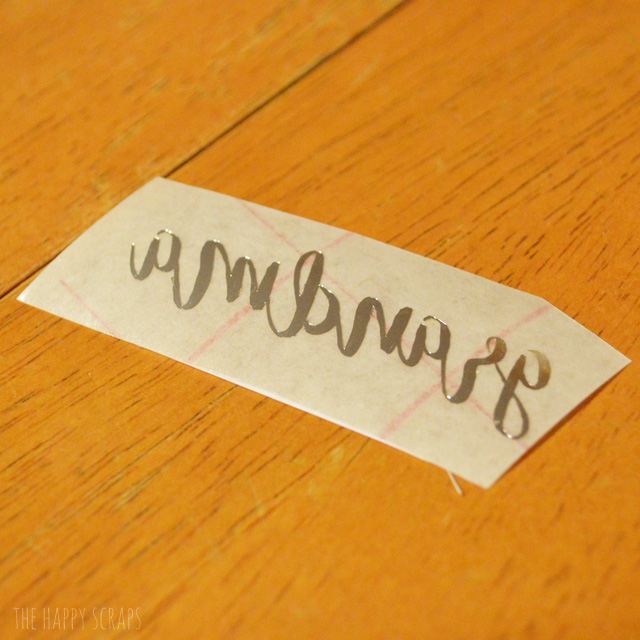
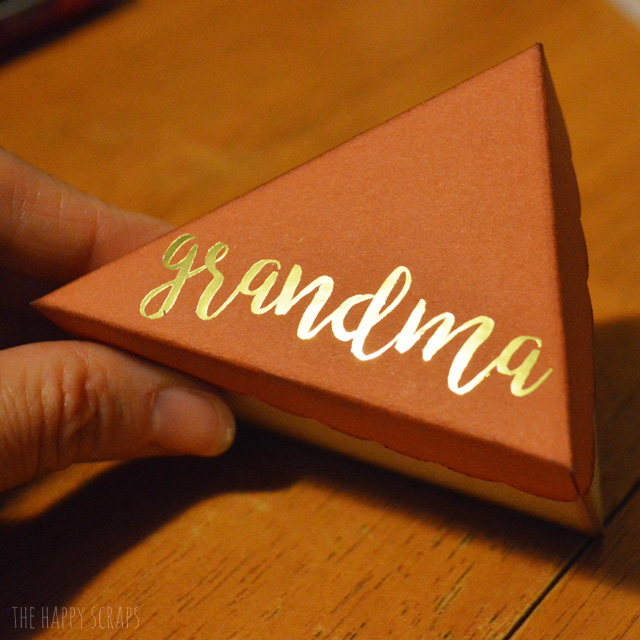
Place the foil, adhesive side down onto the lid of your box, then remove the transfer tape.
Now you’re ready to make your Tissie Paper Whipping Cream. Find the instructions for that HERE.
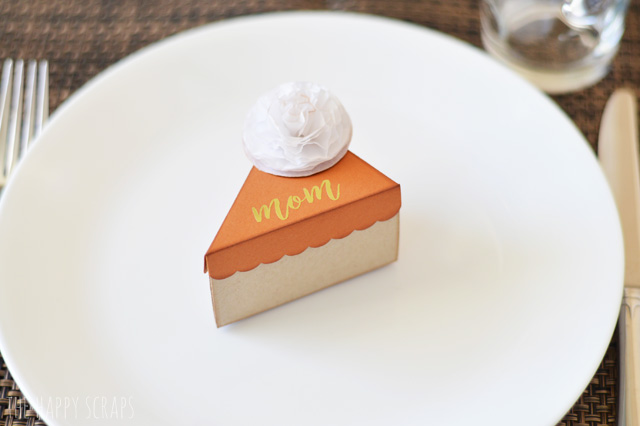
Once you have your “Whipping Cream” made, attach it to the top. Now your cute little Mini Pie Boxes are ready to be filled up with a fun little treat to snack on before dinner. You can set one at each place setting.
Or you can leave them all together and display them and send them home with the guests after dinner.
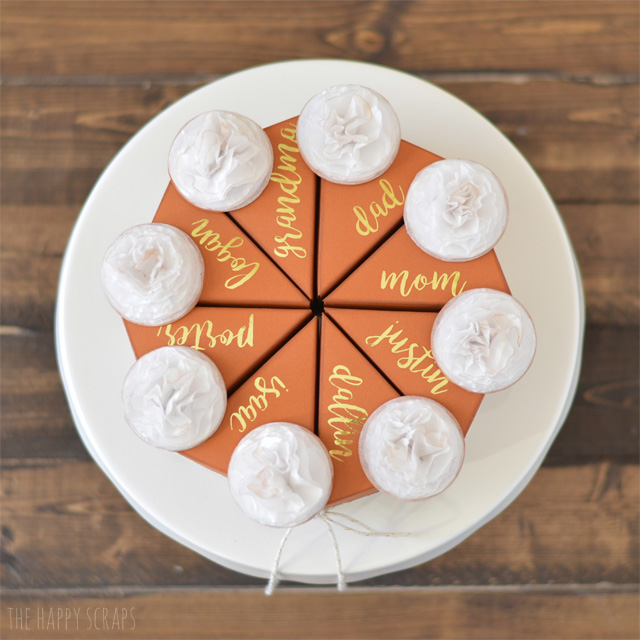
I think I’ll be using mine as decor until Thanksgiving day. Aren’t they so cute?!

If you’ve enjoyed this project, here are some others you might like as well.


Leave a Reply